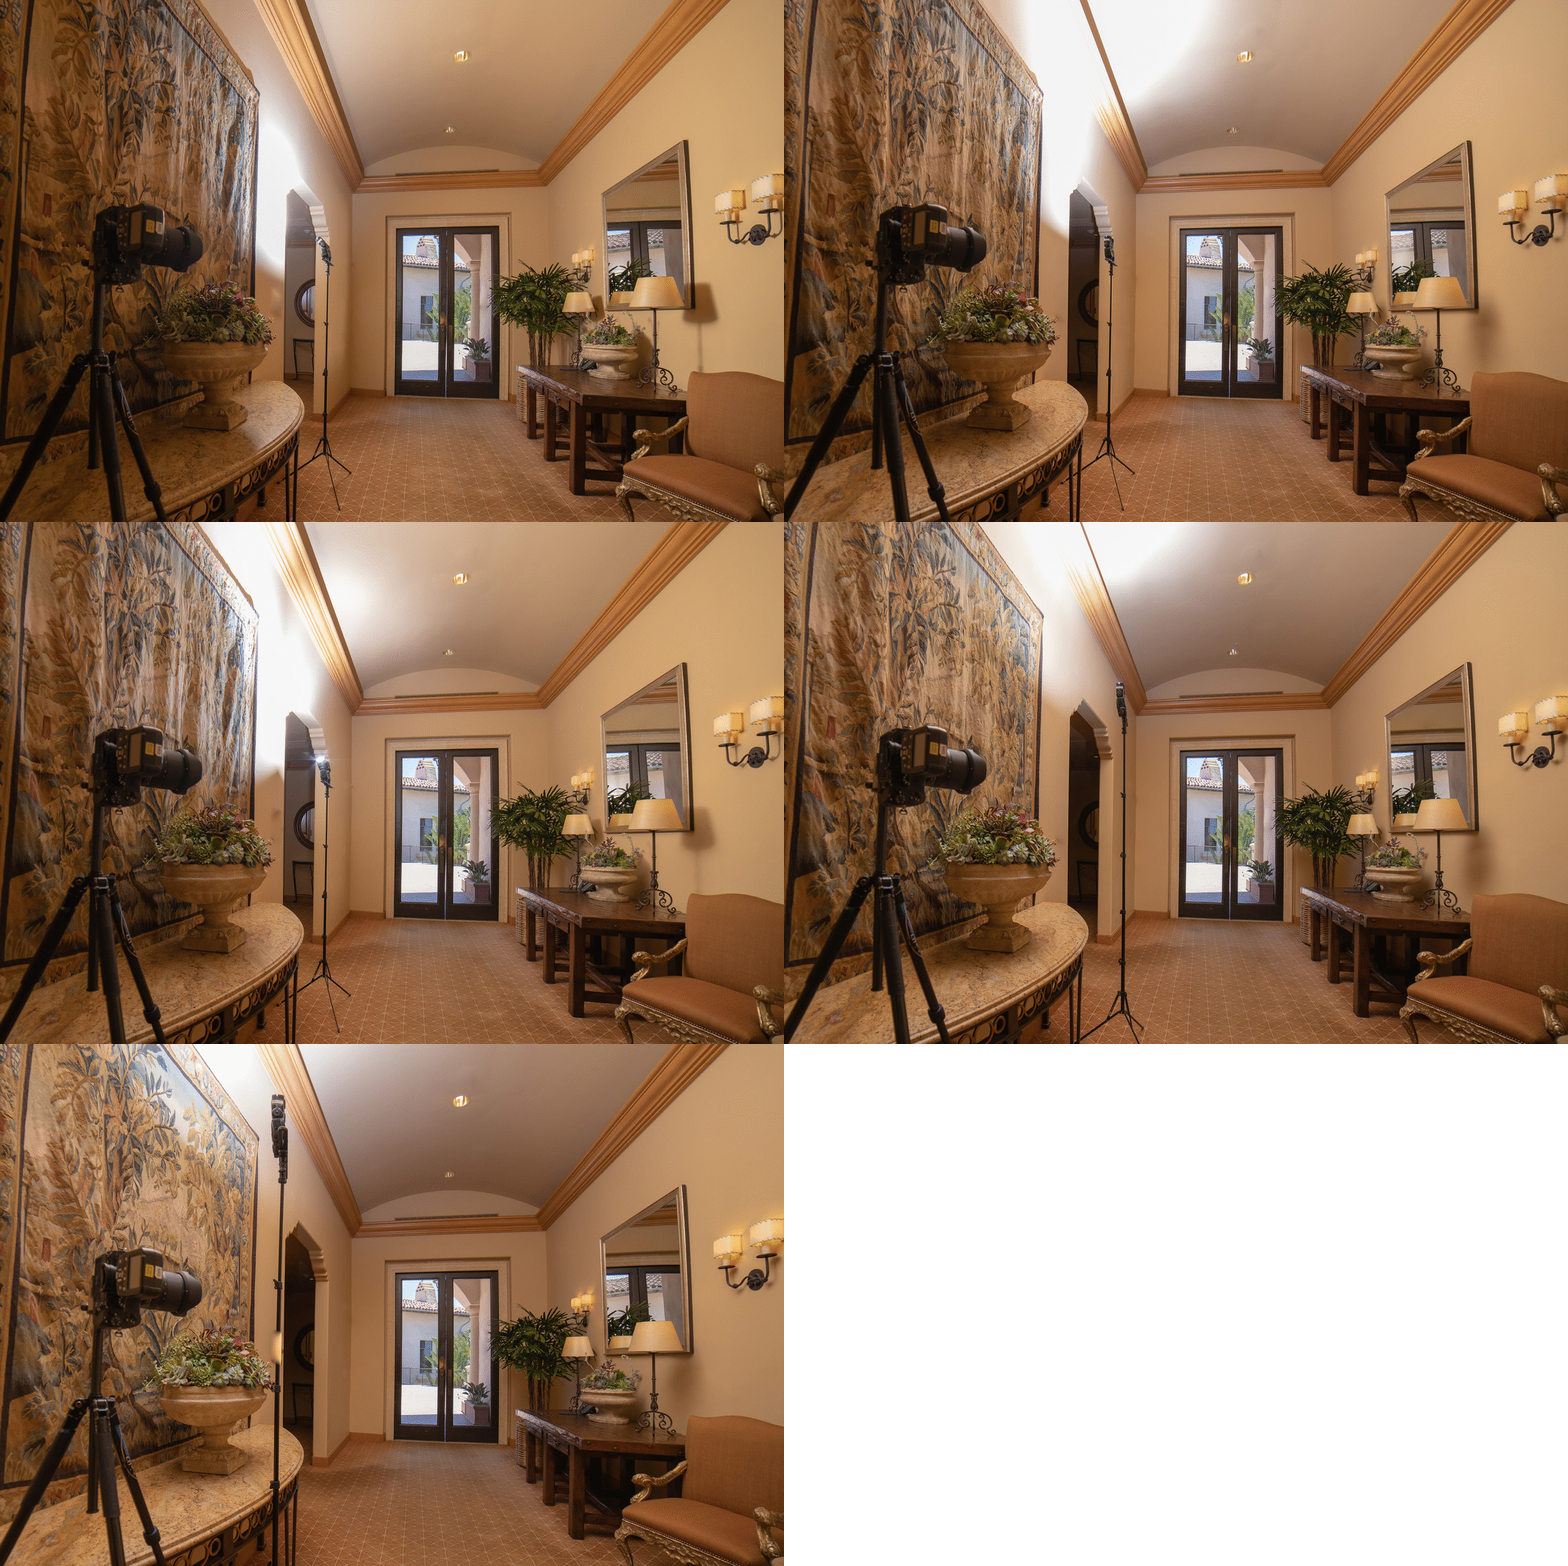
1.Prepare the Space Before Shooting
• Clean and Organize: Remove personal items, exposed wires, or distracting details.
• Arrange Furniture Thoughtfully: Rearrange furniture to highlight the space and create a feeling of openness and warmth.
• Clean Surfaces: Ensure that windows, floors, tables, and other surfaces are free of dirt or stains.
• Add Decorative Details: Use fresh flowers, decorative pillows, or small items to make the space more vibrant.
2. Take advantage of natural light
• Shoot during the day: Choose the time with the best natural light, usually in the morning or late afternoon, when the light is soft and not too harsh.
• Open curtains and windows: Allow natural light to come in to make the space bright and airy.
• Combine with artificial light: Turn on lights in the room to enhance the lighting, but avoid using direct flash.
3. Use appropriate photography equipment
• DSLR or mirrorless camera: Preferably use a high-quality camera with a wide-angle lens to capture the entire space.
• Wide-angle lens: Helps to highlight the space and create a sense of spaciousness, but should not distort the image excessively.
• Tripod: Ensures that the photos are not shaky and maintains a balanced composition, especially in low light conditions.
4. Choose the optimal angle
• Shoot from a low angle or eye level: This helps create a sense of spaciousness and balance.
• Shoot from different angles: Experiment with various angles to find the one that best highlights the space and features of the property.
• Capture the entire room: Ensure the photos display the overall space and the layout of the interior.
5. Balancing layout and perspective
• Use the rule of thirds: Position the main elements of the room at the 1/3 mark to create balance and aesthetics.
• Pay attention to straight lines: Ensure that straight lines (such as walls, windows) in the image are not tilted or distorted.
6. Professional post-production
• Adjusting light and color: Make the images brighter, with more accurate and natural colors.
• Removing unwanted details: Erase stains, unnecessary shadows, or distracting objects.
• Adjusting perspective: Ensure vertical lines in the image are not distorted and the space looks harmonious
7. Capture the standout details
• Focus on highlights: Photograph beautiful details such as fireplaces, staircases, large windows, or gardens.
• Create a realistic feel: Combine wide-angle shots with close-ups to provide a comprehensive view of the property.
8. Pay attention to the outdoor space
• Clean the exterior: Ensure that the garden, entrance, or pool area is not cluttered. • Shoot during the golden hour: Early morning or late afternoon provides warm lighting, ideal for outdoor photos.
• Showcase the whole scene: Include the building, surrounding area, and amenities so viewers can get a complete sense.

